


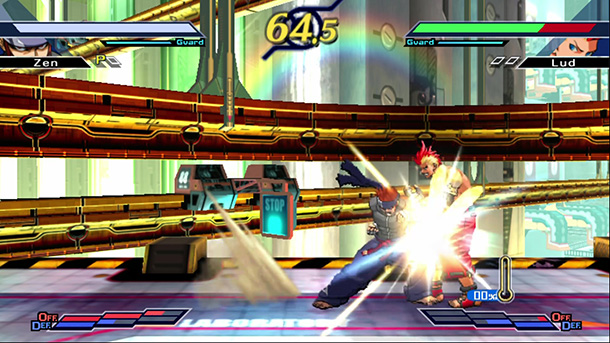
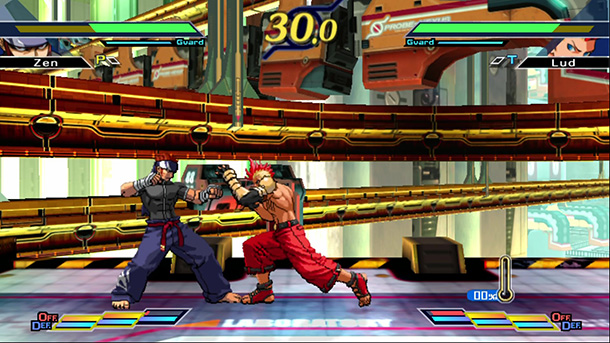
Press SP+SK together to use an Offense Gauge and unleash the attack.
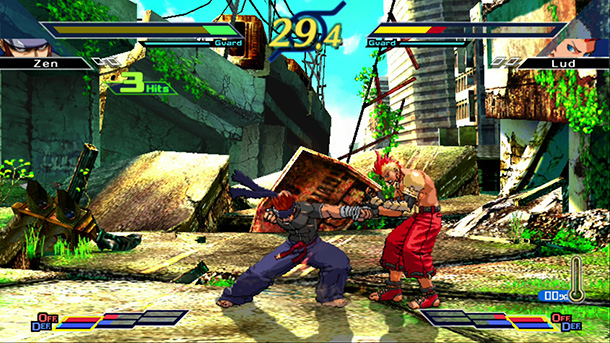
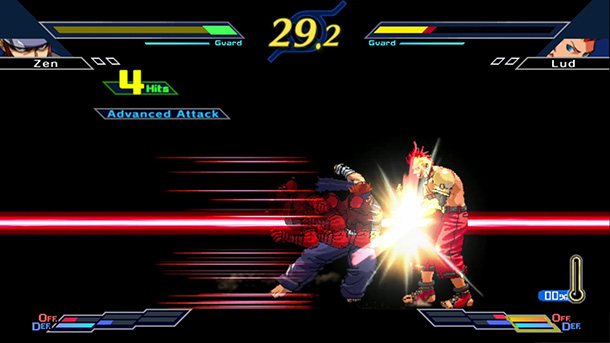
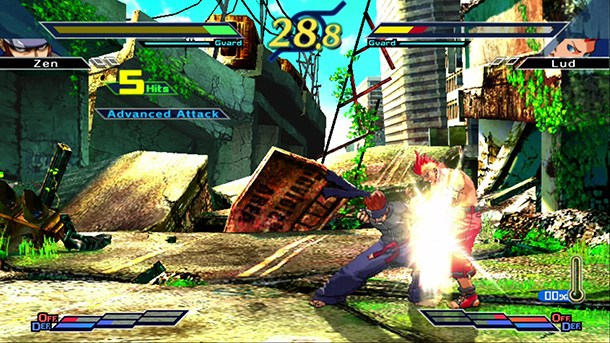
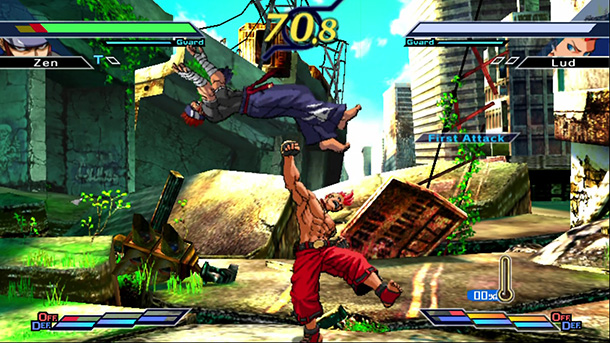
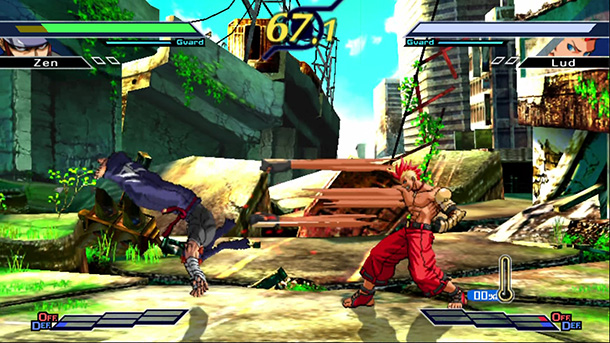
An Advance Attack is a type of lunging skill. You can even cancel a normal move into this.
An Advance Attack can also be canceled into a normal move.
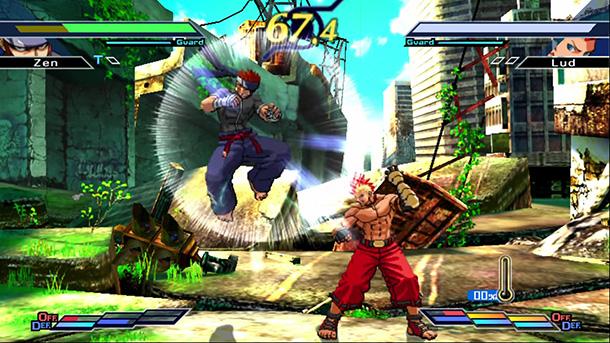
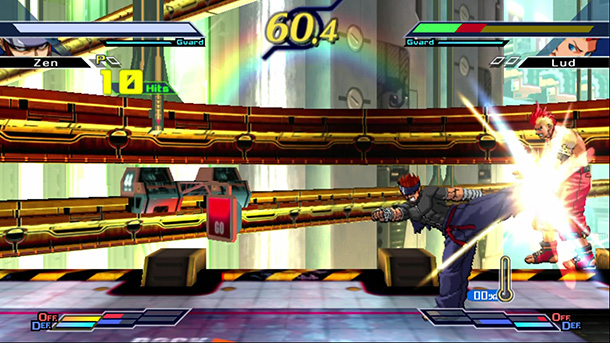
This allows you to perform a chain of Rush Combo→Advance Attack→Rush Combo.
Attacking with chain combos is an important element in T.R.F.

An attack from an Advance Attack is quick. The possibilities are endless if you use that speed to link attacks and follow up on normal moves!

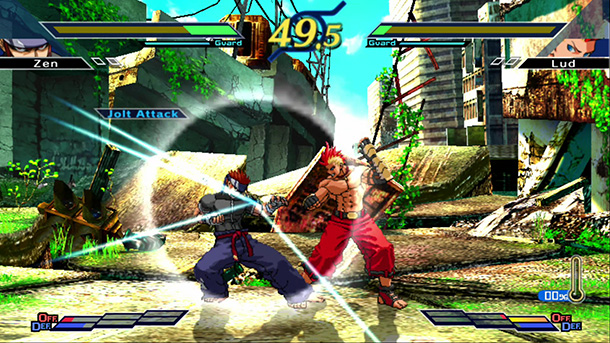
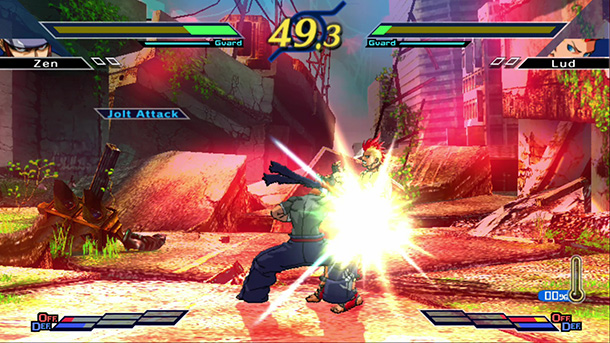

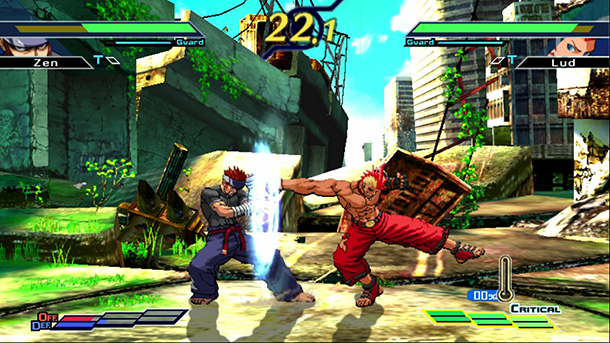
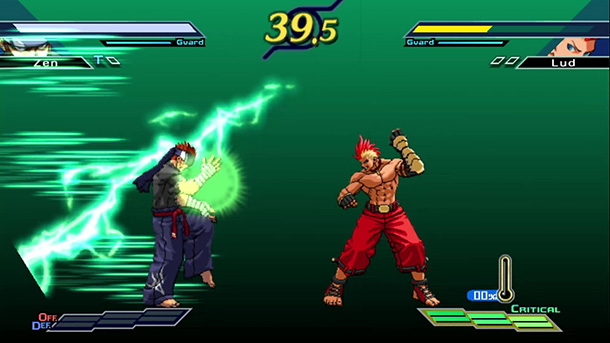
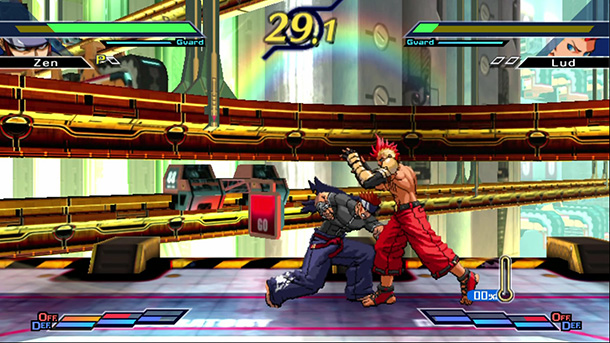
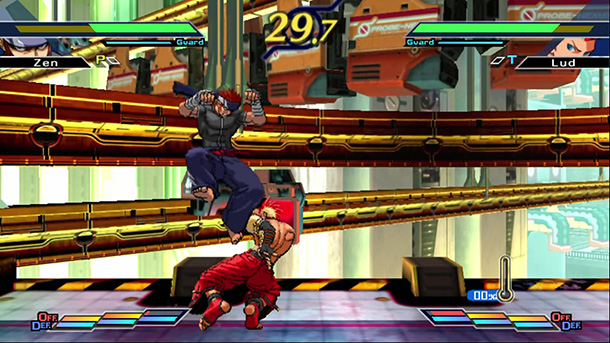
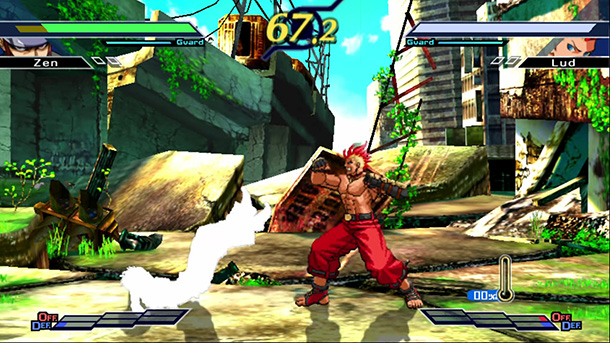
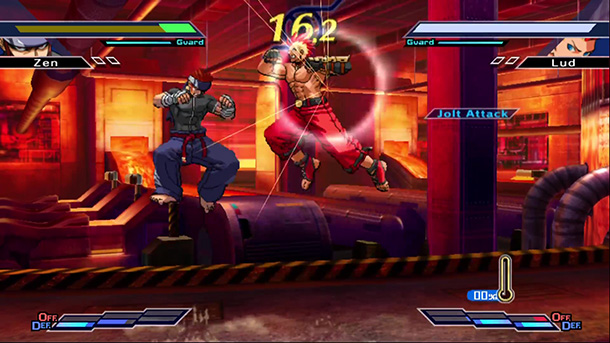
Press LP+LK together to use an Offense Gauge and unleash the attack.
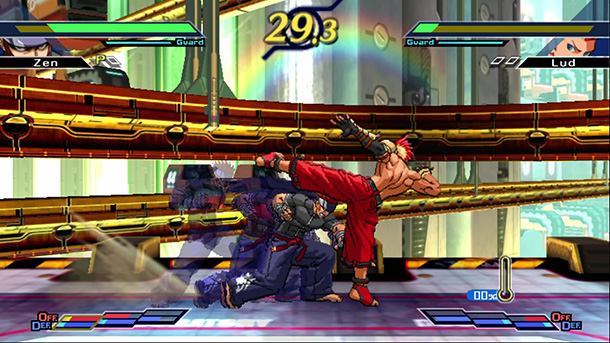
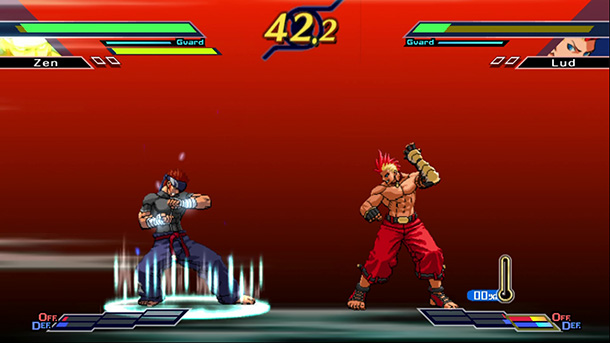
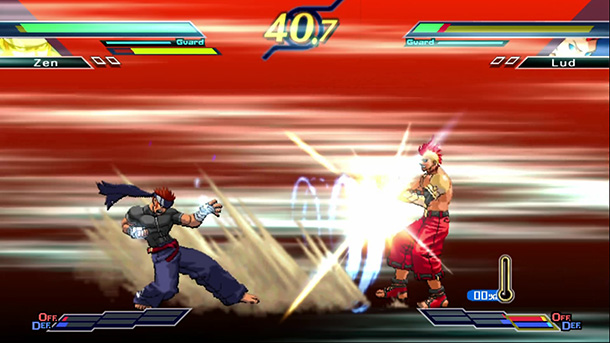
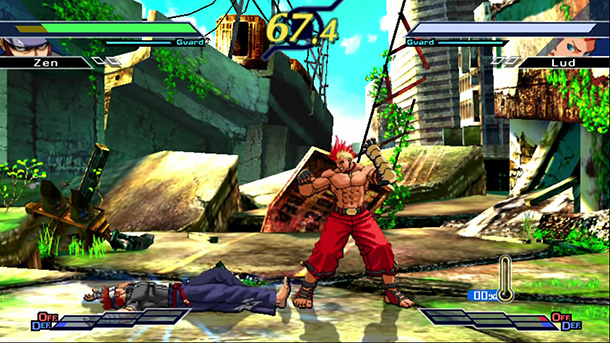
A Jolt Attack takes time to activate but is unblockable.
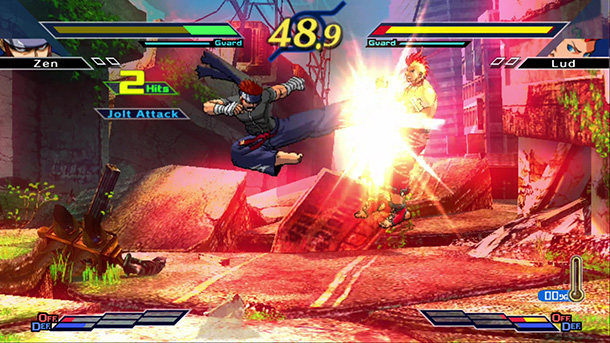
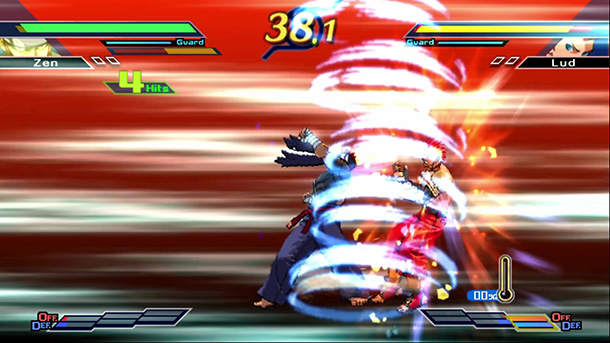
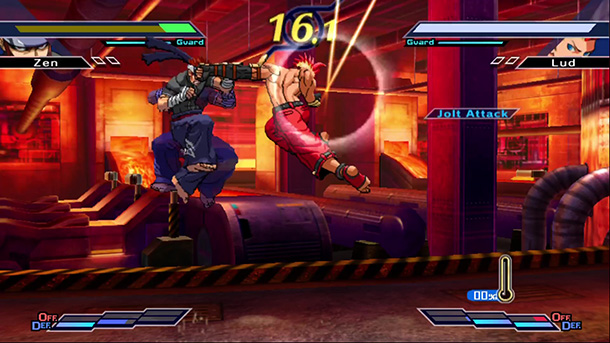
When a Jolt Attack lands, the opponent is slowly lifted into the air and cannot perform a recovery or quick recovery.
This allows you to pull off air combos that are not normally possible. However, if you hit a midair opponent with a Jolt Attack while standing, the jolt effect will not trigger.
In T.R.F.2, Jolt Attacks can be done in midair.
However, there is a height minimum, so it cannot be done low to the ground.
The jolt effect also does not trigger when hitting a standing opponent with a Jolt Attack from midair.
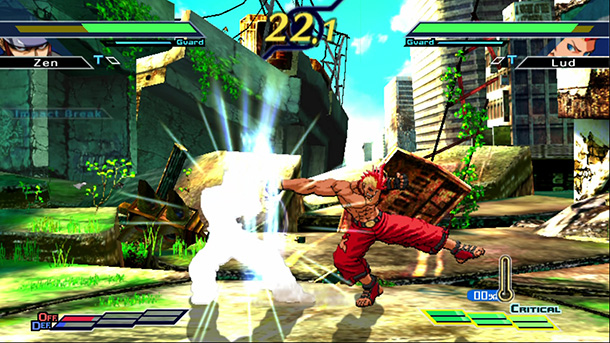
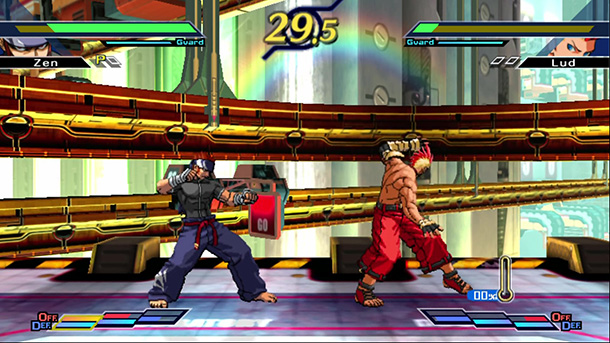
A Jolt Attack can break even the most stubborn defenses. If an opponent is guarding a lot and your attacks are not landing, use a Jolt Attack to open them up!


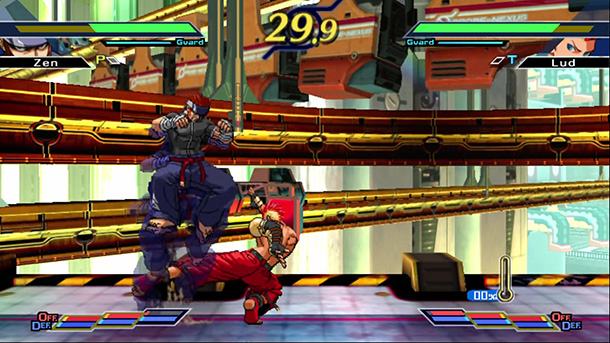
If you take damage and are launched into the air, you can press LP, LK, SP, or SK to regain your character's composure. When performing a recovery, you can input a direction with the joystick to change which way you fall after regaining composure.


If you take damage and are launched into the air, you can press D to use a Defense Gauge and perform a recovery. You can change which way you fall by inputting a direction with the joystick in the same way as a recovery. The difference is that you can recover instantly after taking damage. You also land quicker and farther away, making it easier to escape the opponent's follow-up.
In T.R.F., additional attacks can be made on opponents launched into the air. Therefore, recovering is important because it allows you to guard or counterattack. If the opponent predicts when you recover or where you'll land, you may end up being attacked again despite using a recovery. It's important to keep your opponent on their toes by changing up your timing and landing trajectory!


While guarding, hold back on the joystick and press D for a high Impact Break. Hold down-back and press D for a low Impact Break.
Use a Defense Gauge to activate it, and if successful, your opponent's delay after attacking will be longer, creating a bigger opening for you.
However, you have to match an opponent's high attack with a high Impact Break and a low attack with a low Impact Break.
If you tilt the joystick the wrong way, you'll waste a gauge. A "failed" effect will appear if this happens.
In T.R.F.2, midair Impact Breaks were added.
A midair Impact Break's effect differs from the ground version. A midair break extends an opponent's time spent in the air when jumping.
A successful Impact Break stalls an opponent, press D to double their delay time (Double Impact Break). Press D again during a Double Impact Break to triple their delay, making it a Triple Impact Break.
Timing is everything in pulling off an Impact Break. Match your opponent's attack and tilt your joystick in the right direction. The key is to stay calm and predict the attack. A successful break prolongs the opponent's animation after their attack, but that alone won't assure your victory. You'll need to counter with a quick attack or backdash to dodge and gain composure if the situation calls for it.

Arts are powerful special moves unique to each character.
-

An art performed by using one Offense Gauge.
These are strong attacks and are easier to weave into a combo. -

An art performed by using two Defense Gauges. They provide strong defense while setting you up for a quick counterattack. Some arts are used in unique situations, for example, while taking damage or blocking.
-

An ultimate art that uses all gauges--all 3 offense gauges and 3 defensive gauges. Unleash massive damage and make a big comeback.
In T.R.F.2, defensive arts require two gauges. There are many unique conditions where defensive arts are used, so be sure to check the command list.
In T.R.F.2, critical arts are not affected by damage scaling or guts scaling. If you USE it in a chain, you can cause significant damage to an opponent even if their stamina is low, allowing you more chances to make a big comeback to win.


Critical Cancel--Some special moves can be canceled and chained into an art.
Critical cancels do not use up an entire gauge but only the amount used by the art unleashed.
The special moves that can be critically canceled differ by character.
Also, only offensive arts and critical arts can be critically canceled, not defensive arts.


Tilt the joystick left or right, or use neutral + D button to perform a ground dodge.
You lower your stance while moving forward, allowing you to protect your upper body by dodging high attacks and projectiles. However, you are vulnerable to throws and low attacks, such as sweeps. If hit with an attack while dodging, it registers as a counter.
In T.R.F.2, you can press the attack button during a ground dodge to unleash a normal move. Just as with a normal move from standing position, you can chain it into a rush combo.
Taking advantage of ground dodges as a defensive measure is one way to gain an edge as they do not use up a Guard Gauge. For starters, try timing it to dodge an incoming projectile to go past it unharmed.


Tilt the joystick down + D button to perform an aerial dodge.
You hop forward, protecting your lower body by dodging throws and low attacks.
In T.R.F.2, you can press the attack button during an aerial dodge to unleash a midair normal move.
Moves used during an aerial dodge are considered the same as regular midair moves, so they cannot be blocked by a crouching guard.
However, unlike a ground dodge, you cannot cancel a normal move (making rush combos not possible). If hit with an attack while dodging, it is registered as a counter.
Moves used during an aerial dodge cannot be blocked by a crouching guard, so it is a highly effective way to break through guards. If the move during the aerial dodge hits low to the ground, you can chain it into a rush combo after landing. If an opponent is persistent with a crouching guard, attacking them from an aerial dodge should shake them up.


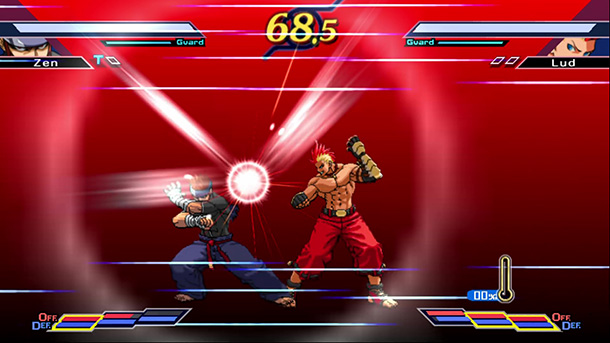
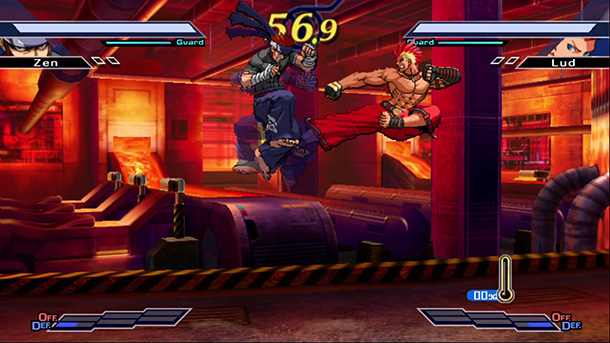
Enter a special mode by pressing LP+SK or LK+SP together and using one Offense and one Defense Gauge. This is a new mechanic introduced in T.R.F.2, and it puts each character into a special mode for a short time. Each character gains different abilities during their Boost Dive.
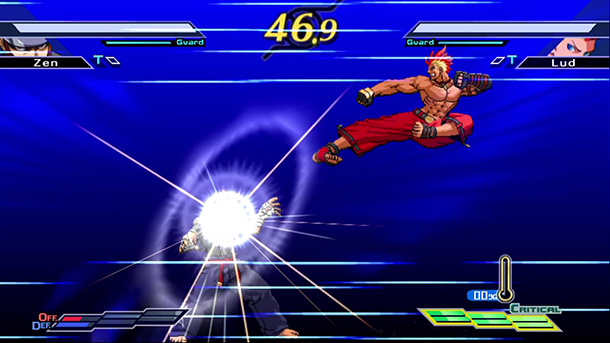
The background changes during a Boost Dive, and a special gauge below the Guard Gauge shows how long it will last. Some characters have longer or shorter Boost Dive times than others.
Some characters change significantly while using Boost Dive. Use it wisely to pressure the opponent with your character and their special dive abilities!


When knocked down, you can tilt the joystick left or right, or use neutral + D button to perform a ground recovery.
If you tilt the joystick towards your opponent + D, you will recover towards them.
In that instance, you will slip past the enemy character.
Tilt the joystick away from the opponent or use neutral + D and you will recover going backwards. While in motion you are invulnerable to attacks, but there is a state of vulnerability when it ends.
Also, you will be always be vulnerable to throws.
Ground recoveries can only be performed while you are knocked down, so it cannot be used if you are bouncing off the ground or have started to get up.
Use ground recoveries to avoid being attacked while getting up! However, if the opponent reads which way you'll go, they can come in and throw you or dash towards you while you are vulnerable. As with normal recoveries, plan which way you'll go and time it so the opponent can't predict your movements.


Press the D button while in the air to perform a midair dodge.
While jumping, your character can dodge attacks and become invulnerable for an instant.
It also stops the momentum of your jump. After dodging, you become vulnerable until you land, and you cannot attack or guard in the meantime.
As with ground dodges, if you are hit with an attack after the invulnerable phase, it will be registered as a counter.
Utilize midair dodges to avoid an opponent's midair jolt or follow-up midair attacks.

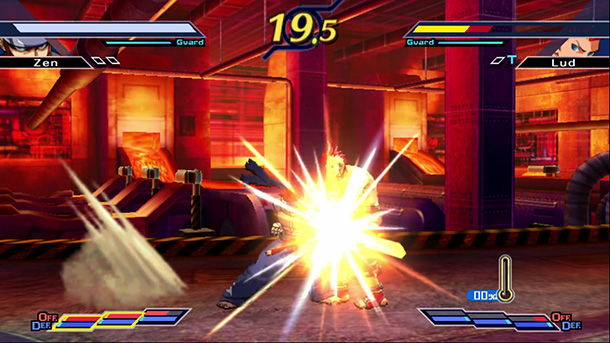
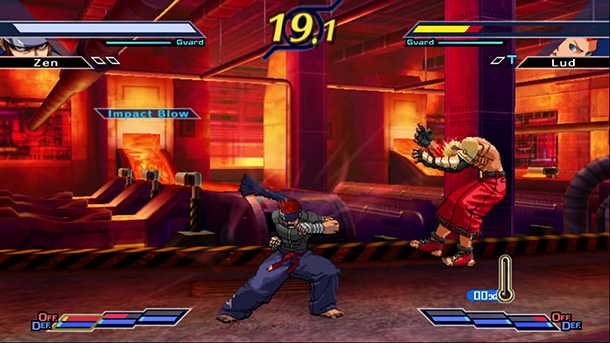

During a special move that knocks the enemy away, you can press D during a freeze frame to use an Impact Blow.
It uses up one Offense Gauge to activate.
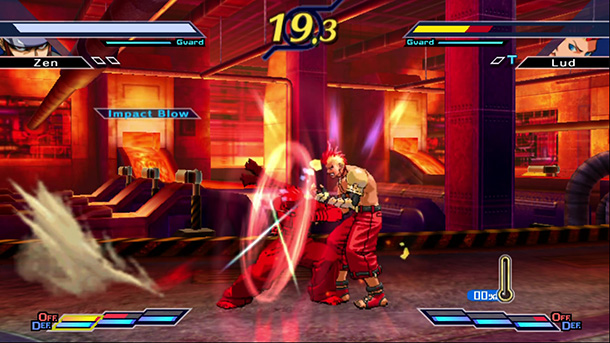
If successful, the opponent will not be able to use a recovery or quick recovery when knocked back. Therefore, using an Impact Blow prevents opponents from escaping an air combo and prevents counterattacks from a quick recovery.
They will also be unable to perform a ground recovery.
If the attack is blocked and the Impact Blow fails, the Offense Gauge is still expended.
In that instance, a failed effect will be shown.
Impact Blows cannot be used against arts.
Using Impact Blows against special moves with big openings, such as some anti-air attacks, can deny opponents quick recoveries. Ground recoveries are also denied, so you can easily attack opponents when they get up!